Harnessing the Sun: A Comprehensive Guide to Solar Panel Installation and Long-Term Maintenance for Peak Performance
Unlocking Sustainable Energy: The Complete Journey of Solar Panel Systems
Transitioning to solar energy is more than just a trend; it's a significant investment in a sustainable future and a tangible path toward energy independence. For homeowners and businesses alike, solar panels offer a way to drastically reduce carbon footprints and lower electricity bills. However, the journey from initial consideration to reaping the long-term rewards involves two critical phases: a meticulous installation process and a consistent maintenance routine. The effectiveness and longevity of a solar panel system are not solely dependent on the quality of the panels themselves, but on how well they are installed and cared for over their 25-to-35-year lifespan. A proper installation ensures the system operates at maximum efficiency from day one, while ongoing maintenance protects this performance against the inevitable wear and tear of time and weather. This comprehensive guide will walk you through every essential aspect, from a professional site assessment to troubleshooting common problems, ensuring your solar investment delivers clean, reliable energy for decades to come.

H2: The Foundation of Efficiency: Professional Solar Panel Installation
The installation process is a structured sequence of events that lays the groundwork for your system's entire operational life. Rushing this stage or cutting corners can lead to underperformance, safety hazards, and costly future repairs. A professional and systematic approach is paramount. This process is typically broken down into several key stages, each requiring expert knowledge and precision.
H2: Step 1: The Crucial Site Assessment and System Design
Before a single panel is ordered, a thorough site assessment must be conducted. A solar professional will evaluate your property for several key factors. This includes analyzing your historical electricity consumption to understand your energy needs and size the system appropriately. They will also inspect the structural integrity of your roof, its orientation, and its angle to determine the optimal placement for maximum sunlight exposure. A critical part of this stage is the shading analysis, which identifies potential obstructions like trees or adjacent buildings that could cast shadows on the panels and reduce their output. Based on this comprehensive data, a custom solar system is designed, selecting the right high-efficiency panels, inverters, and mounting hardware tailored to your specific requirements.
H2: Step 2: Navigating Permits and Approvals
Nearly all solar installations require permits from local municipalities and the utility company. This step ensures that the system complies with local building codes, electrical codes, and safety regulations. An experienced solar installer will manage this entire process, from submitting detailed system designs and engineering plans to coordinating with officials. While the timeline for permit approval can vary significantly depending on the jurisdiction, a reputable installer's familiarity with local requirements can help streamline the process and avoid unnecessary delays.
H2: Step 3: The Installation Day(s): Mounting and Wiring
Once permits are approved, the physical installation can begin. This process typically takes one to three days. The installation crew starts by preparing the roof and installing a durable racking system, which is securely bolted to the roof's rafters. These racks are engineered to withstand various weather conditions for decades. Once the mounting structure is in place, the solar panels are carefully affixed to it. The next step is the electrical wiring. The panels are connected, and conduits are run to link the array to the inverter, which is the heart of the system responsible for converting the DC electricity produced by the panels into the AC electricity used by your home.
H2: Step 4: Inspection and Commissioning the System
After the physical installation is complete, the system must undergo a final inspection by the local building authority and/or your utility company. This inspection verifies that the installation was performed correctly and meets all safety standards. Once the system passes inspection, the final step is commissioning, or "Permission to Operate" (PTO). The utility company grants approval to connect your system to the grid, and with the flip of a switch, your property begins generating its own clean power.
H2: The Key to Longevity: A Proactive Maintenance Checklist
While solar panels are designed to be durable and require minimal upkeep, they are not completely "set and forget." A proactive maintenance schedule is essential to ensure they operate at peak efficiency and to protect your investment. Neglecting maintenance can lead to a gradual decline in energy production and may even void warranties.
| Maintenance Task | Frequency | DIY or Professional? | Key Benefits |
|---|---|---|---|
| Visual Inspection | Monthly | DIY | Early detection of cracks, debris, or loose wiring. |
| Performance Monitoring | Daily/Weekly via App | DIY | Quickly identify sudden drops in energy output. |
| Panel Cleaning | 1-2 times per year (or as needed) | DIY (if safe) or Professional | Boosts efficiency by 5-20% by removing dirt and grime. |
| Inverter Check | Monthly | DIY | Ensure it's operating correctly with no error codes. |
| Professional Inspection | Annually | Professional | Comprehensive check of wiring, connections, and mounts. |
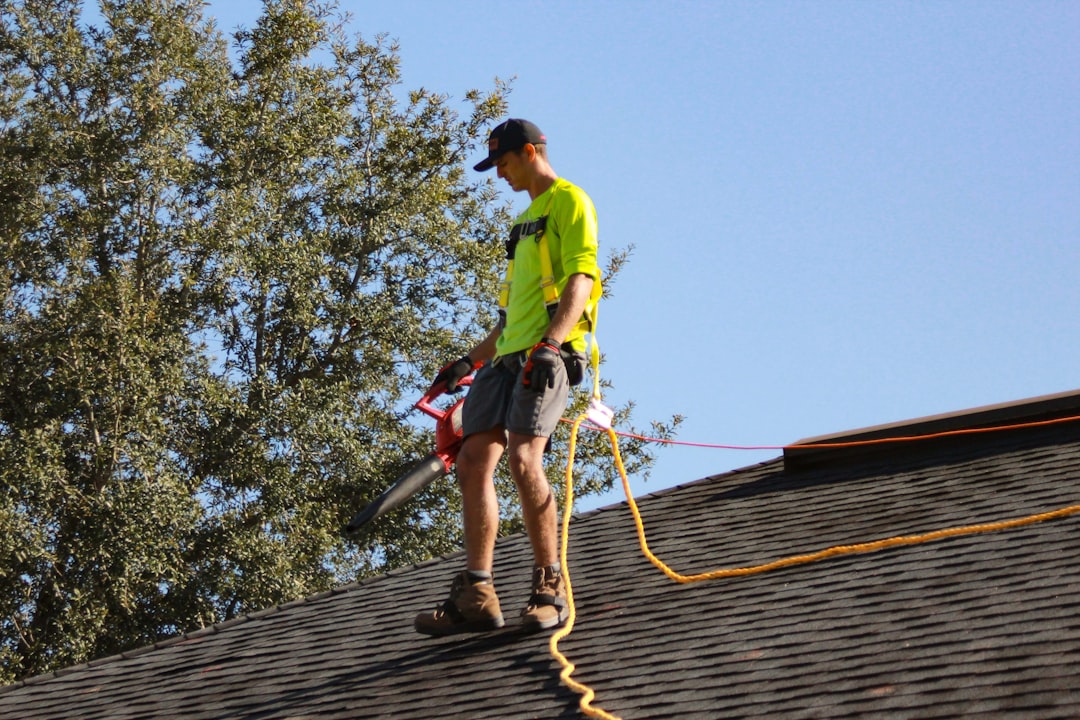
H2: The Importance of Regular Cleaning
Over time, solar panels accumulate dust, pollen, bird droppings, and other debris. This layer of grime can significantly block sunlight, reducing the system's efficiency by as much as 20% in some environments. While natural rainfall helps wash away some of this buildup, periodic cleaning is recommended, especially in dry or polluted areas. The best practice is to clean panels once or twice a year. When cleaning, always shut the system down first for safety. Use a soft-bristled brush, a mild, biodegradable soap, and a standard garden hose—never a high-pressure washer, as it can damage the panels. For safety reasons, especially with steep or high roofs, hiring a professional cleaning service is often the wisest choice.
H2: Common Problems and How to Troubleshoot Them
Even well-maintained systems can encounter issues. Being able to identify them early can save you from costly repairs.
- Reduced Power Output: The most common issue, often caused by dirty panels or new shading. Regularly check your monitoring app. If cleaning doesn't solve it, check for new tree growth or other obstructions.
- Inverter Faults: The inverter is the most complex component and has a shorter lifespan than the panels (typically 10-15 years). Overheating or error codes on the display are common signs of trouble. Ensure the inverter has proper ventilation and check the manual for troubleshooting steps. If problems persist, a professional is needed.
- Physical Damage: Regular visual inspections are key to spotting issues like microcracks, chipped glass, or damage from wildlife. While small cracks may not immediately impact performance, they can worsen over time and should be assessed by a technician.
- Wiring and Connection Issues: Loose or corroded wiring can disrupt power flow and create safety hazards. If you notice flickering performance or visible damage to conduits or wires, contact a professional immediately.
H2: Monitoring Your System's Performance
Most modern solar systems come with monitoring software or an app that allows you to track your energy production in real-time. Make it a habit to check this data regularly. It is your first and best tool for detecting a problem. A sudden, unexplained drop in output is a clear signal that something is amiss, prompting you to either conduct a physical inspection or call for service.
H2: When to Call a Professional
While some maintenance tasks are suitable for DIY, many situations require the expertise of a certified solar technician. Always call a professional for:
- Any electrical work, including wiring repairs or inverter troubleshooting.
- Inspections or repairs on steep roofs or hard-to-access systems.
- Diagnosing persistent performance issues that aren't solved by cleaning.
- Replacing major components like an inverter or a damaged panel.
Working with electrical components and at height carries significant risks. Professional services are insured and have the proper safety equipment and knowledge to perform the job correctly and safely, protecting both you and your system's warranty.

